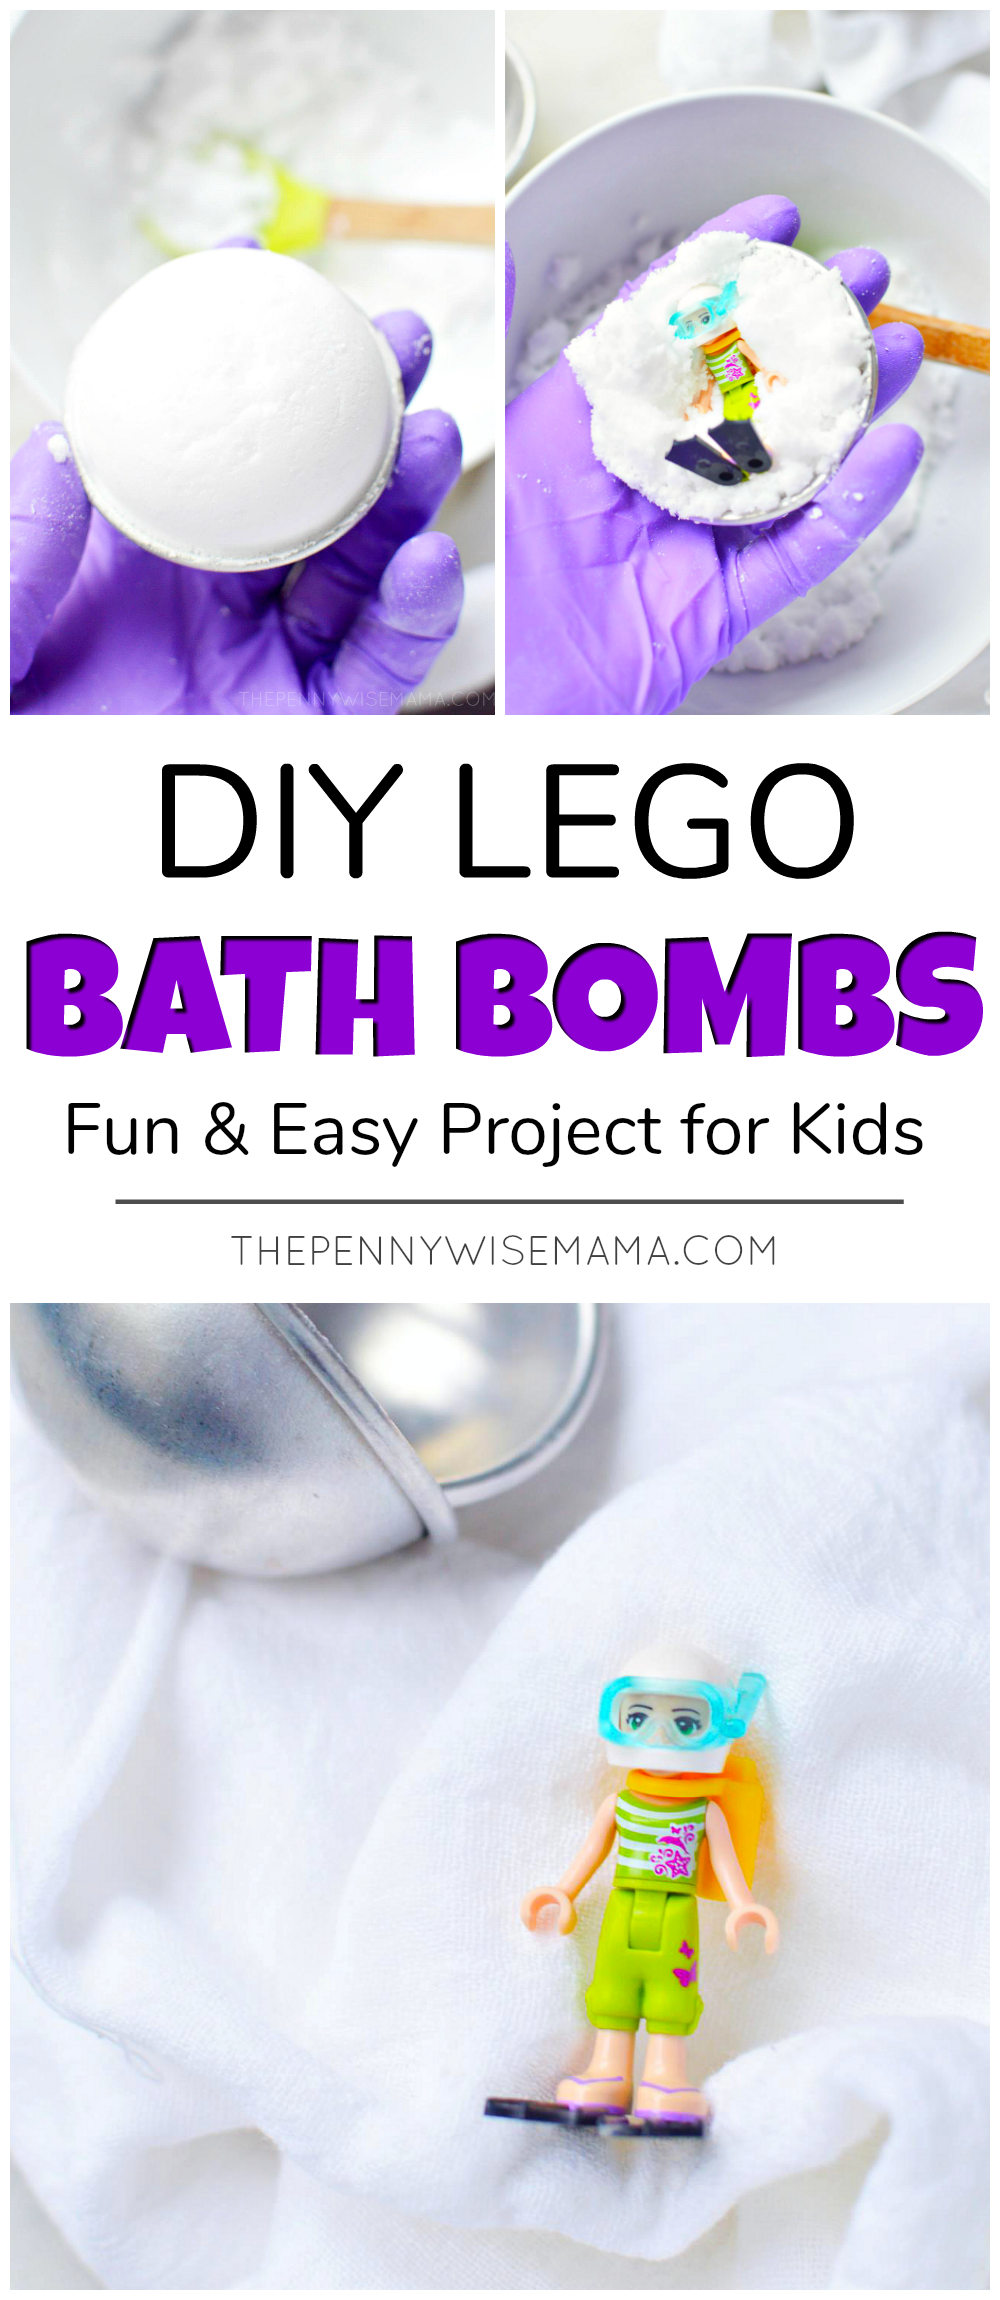
These DIY Bath Bombs with hidden Legos inside are fun and simple to make. Perfect for bath time, or as a sensory experience, they are sure to make any Lego fan happy when they discover the surprise inside!
How to Make Lego Bath Bombs (Bath Fizzies)
Ingredients
- 1 cup baking soda
- ¼ cup citric acid
- up to 2 tablespoons of water
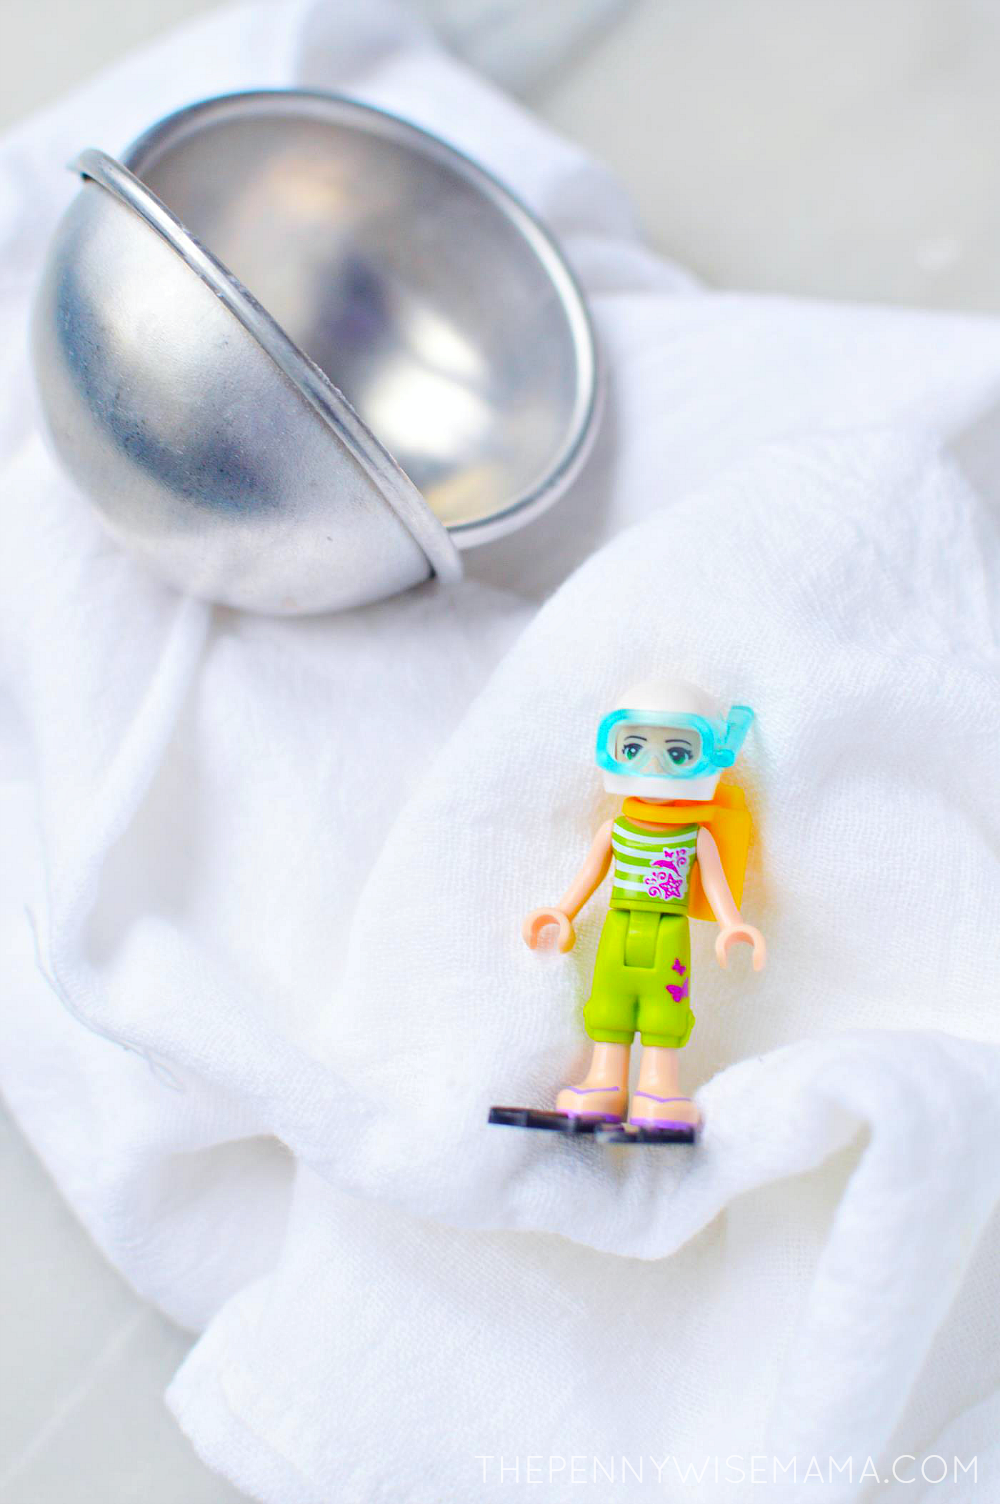
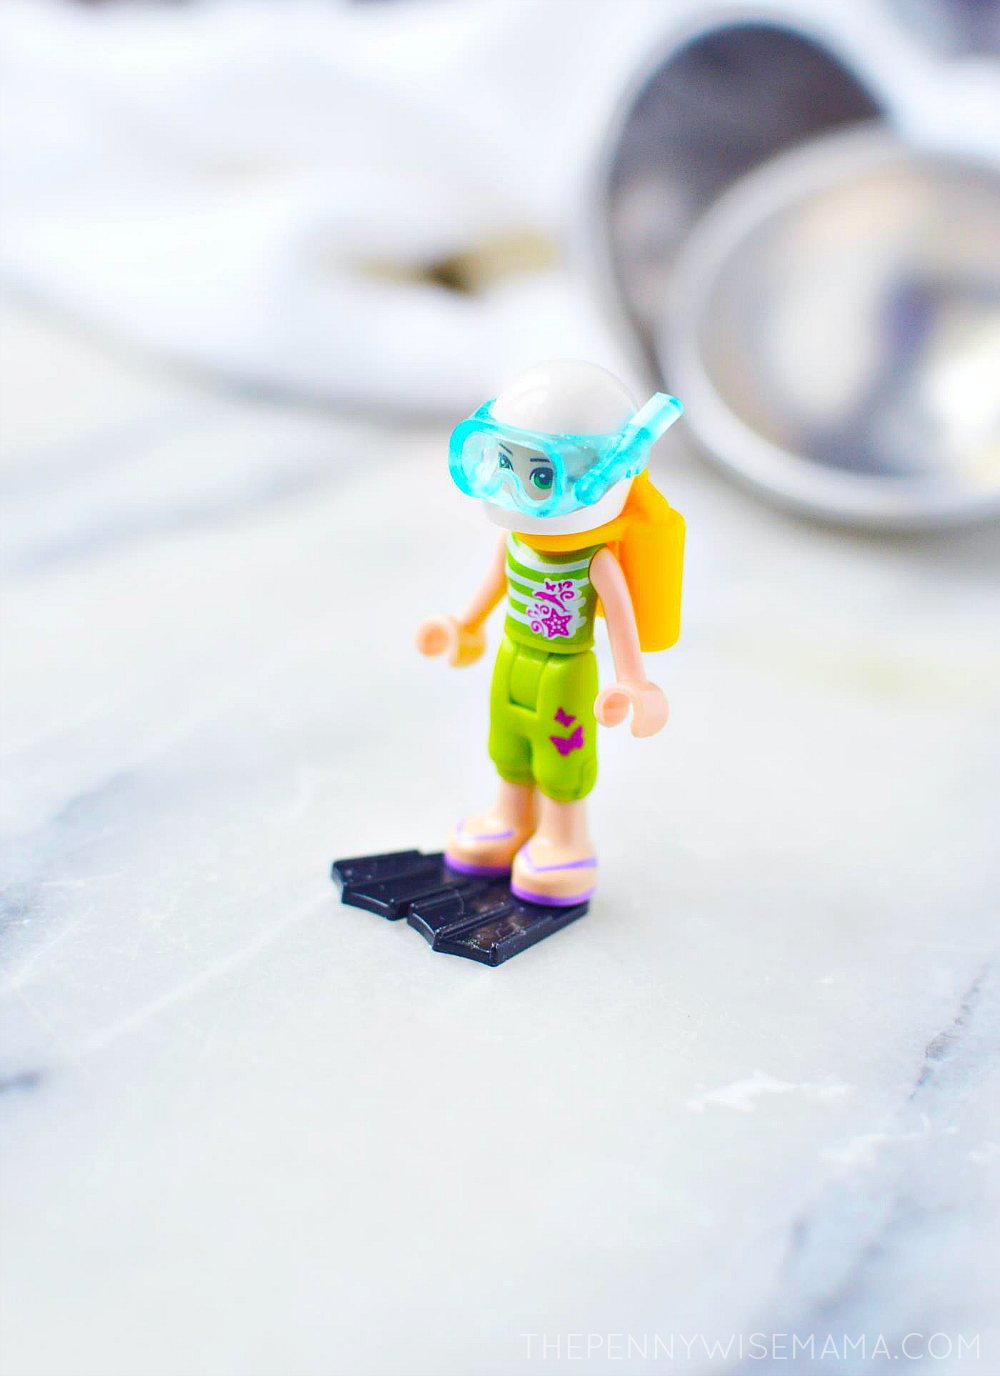
- Lego Minifigures (or any other Legos or small toys you have on hand)
- bath bomb molds – I used the largest one from this exact set and it worked perfectly!
- Optional: You can add a few drops of your favorite essential oil to the mixture. I recommend lavender, cedarwood, or Stress Away for a calming effect!
This recipe, combined with the exact mold recommended above, will make one large bath bomb.
Instructions
Have everything measured and the molds out, double check that your Lego Minifigure will fit into the center of the ball. You may need to bend their legs or adjust their arms!
Thoroughly mix together the citric acid and baking soda. For a calming effect, you can also add a few drops of your favorite essential oil to the mixture. I recommend lavender, cedarwood, or Stress Away!
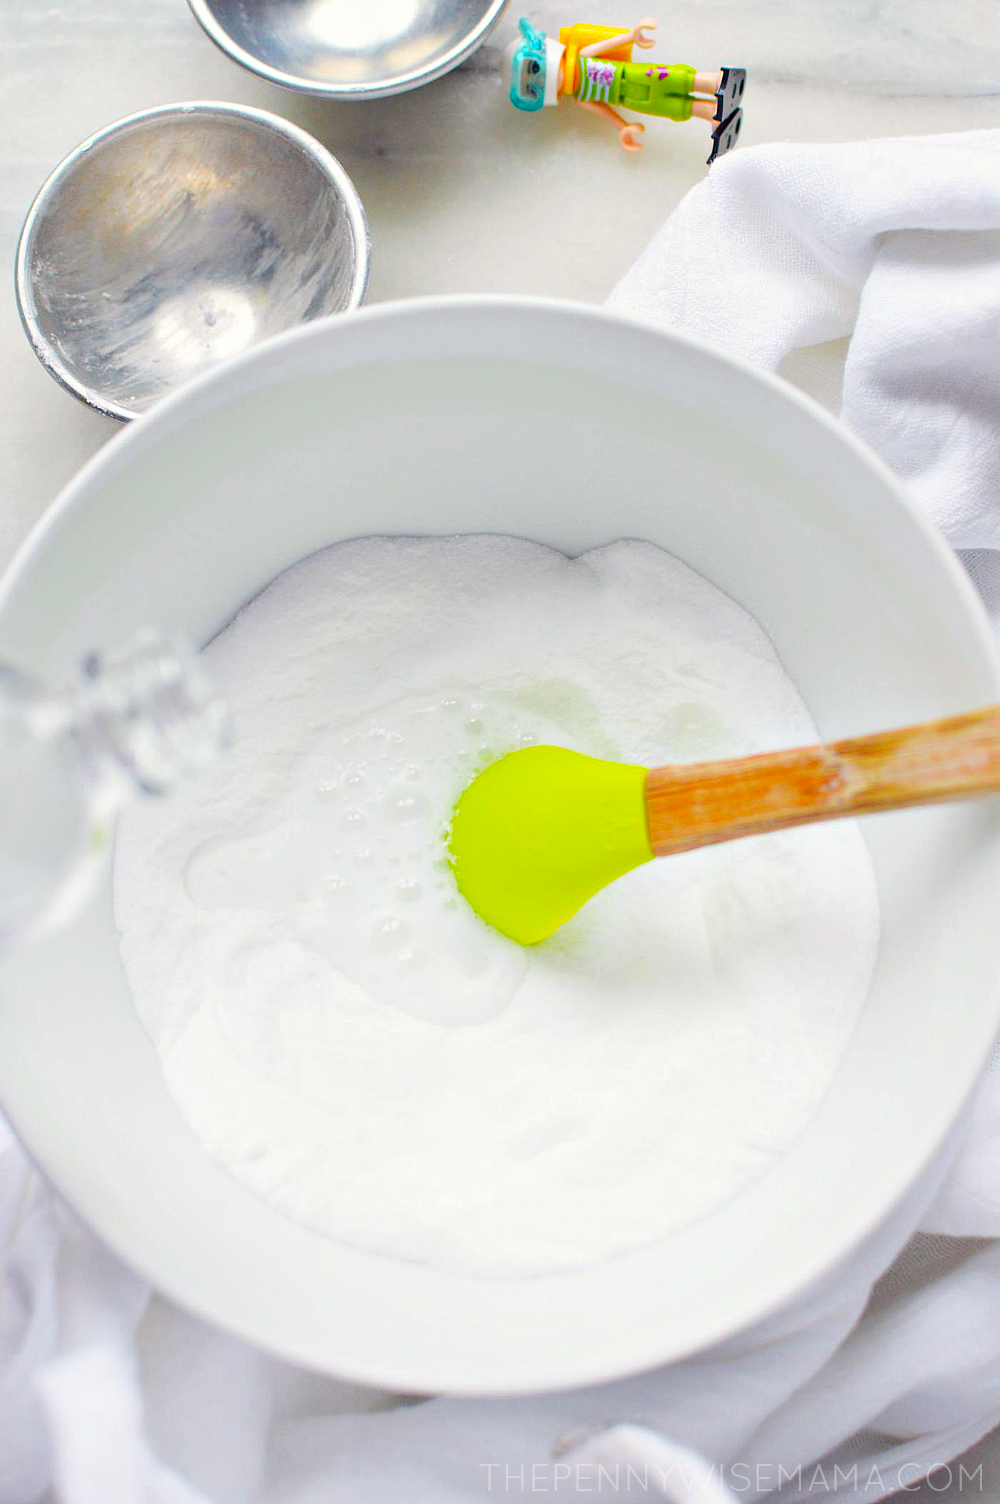
Very slowly pour in the water and mix with your hands. You want only enough water to give the baking soda and citric acid mixture a damp, sand-like consistency that will hold together when squeezed.
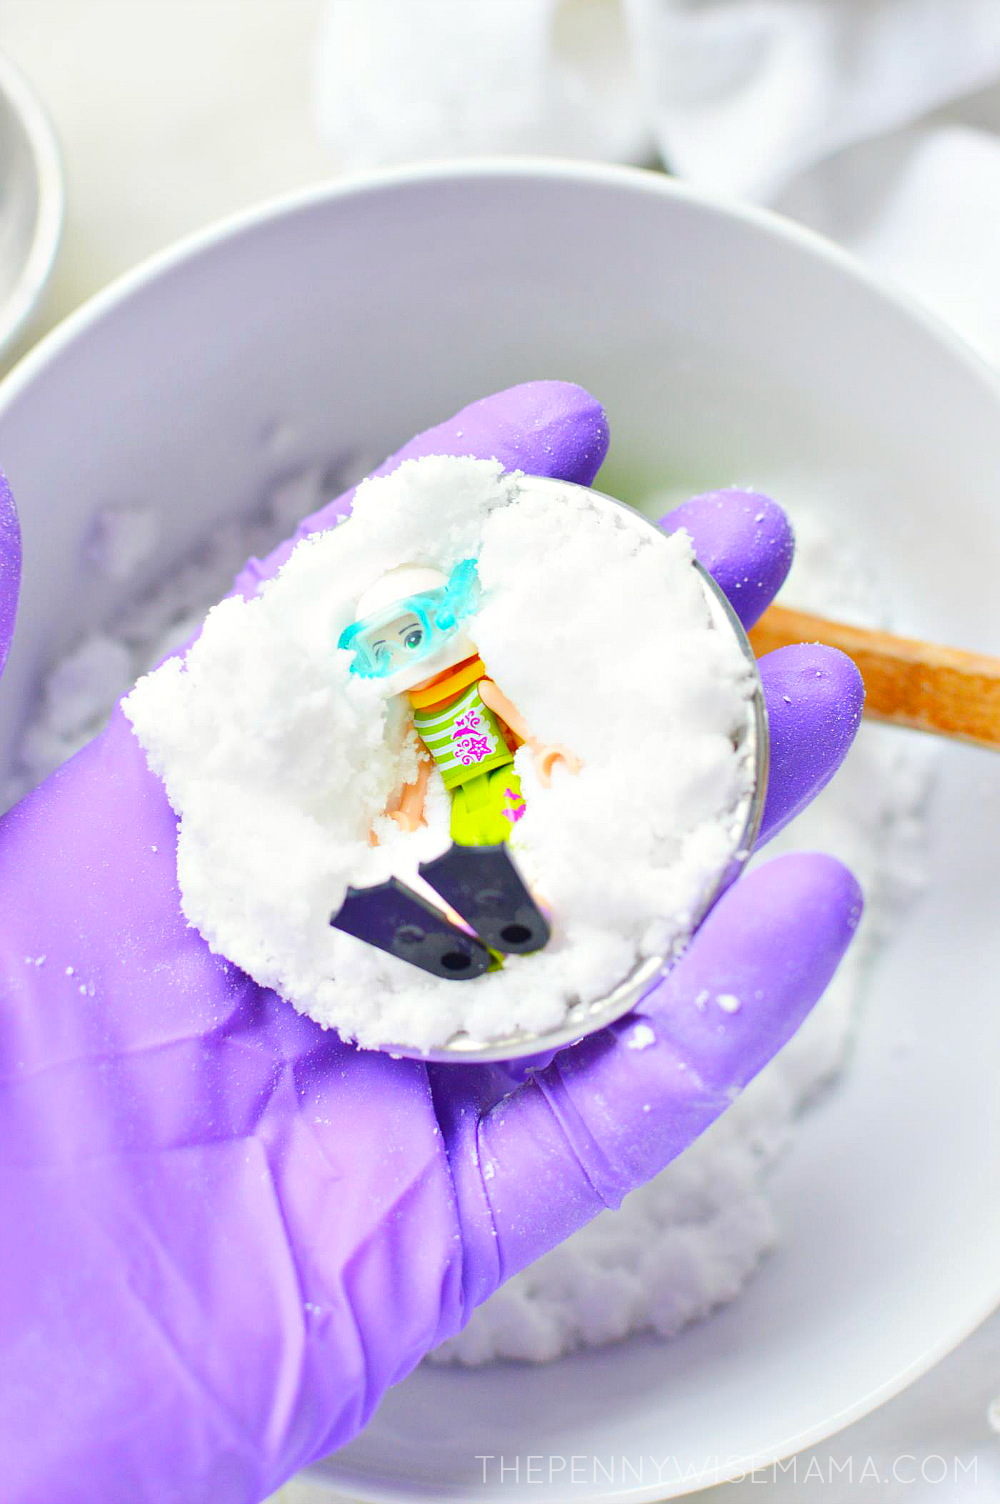
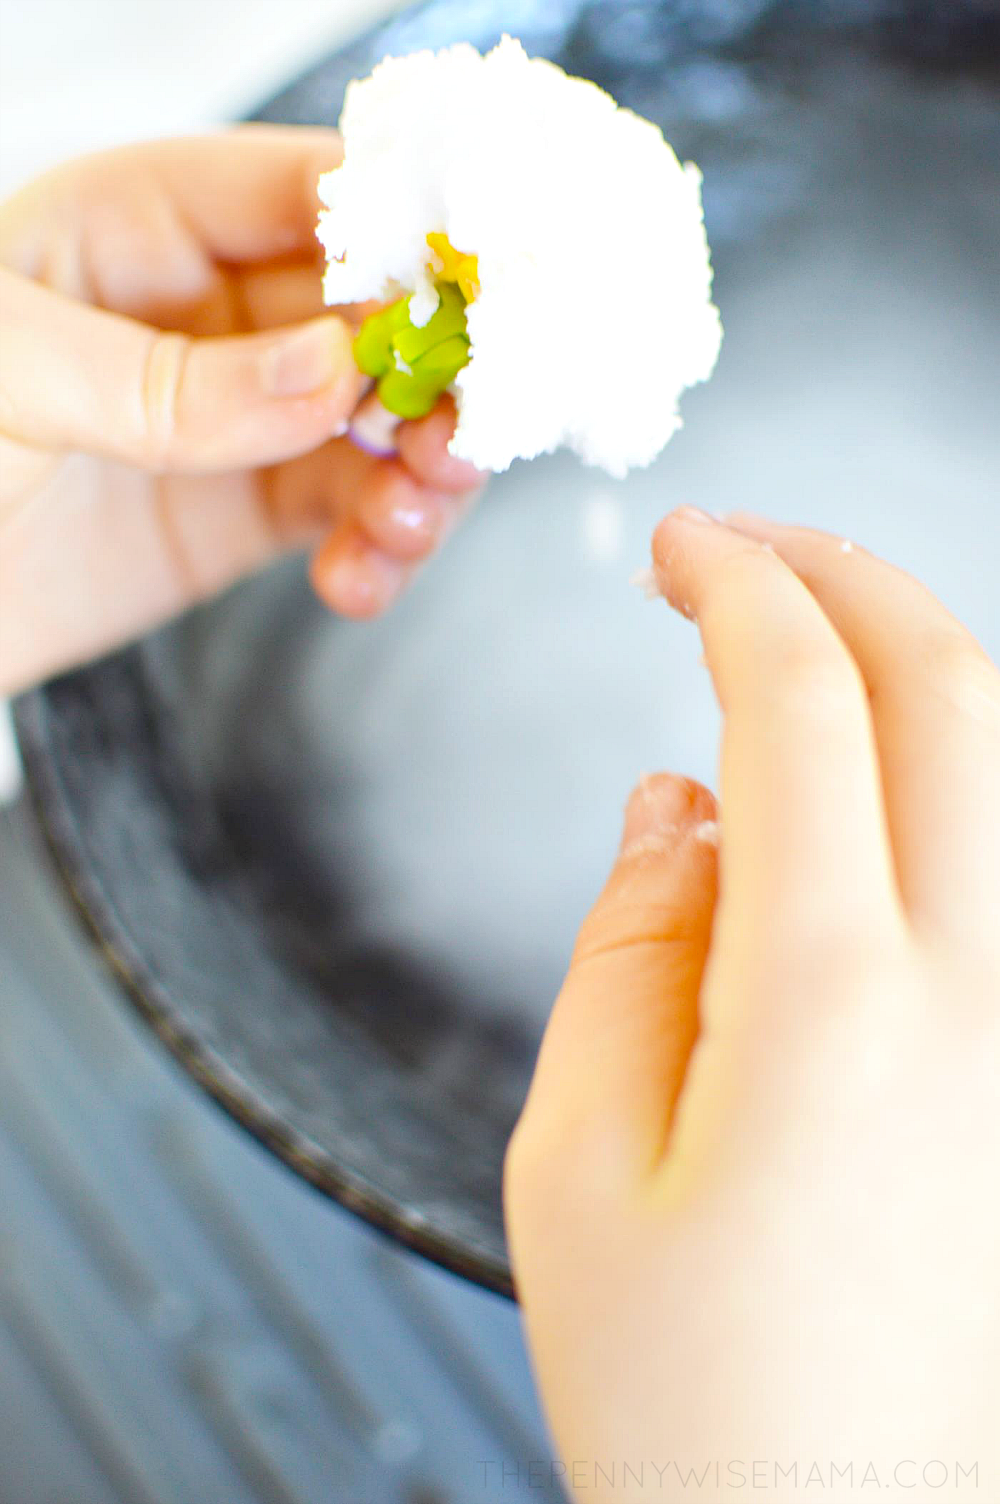
Scoop up some of the mixture into one half of the mold (do not pack down), then press your Lego Minifigure into it and place more of the mixture on top.
Then fill the other half of the mold with all of the rest of the mixture and quickly press the two halves together. I find that if I use a slight twisting pressure in from both sides it helps lock the two sides together.
*If your Lego (or other toy) is too large, there may not be quite enough surface space for the two sides to bond together.
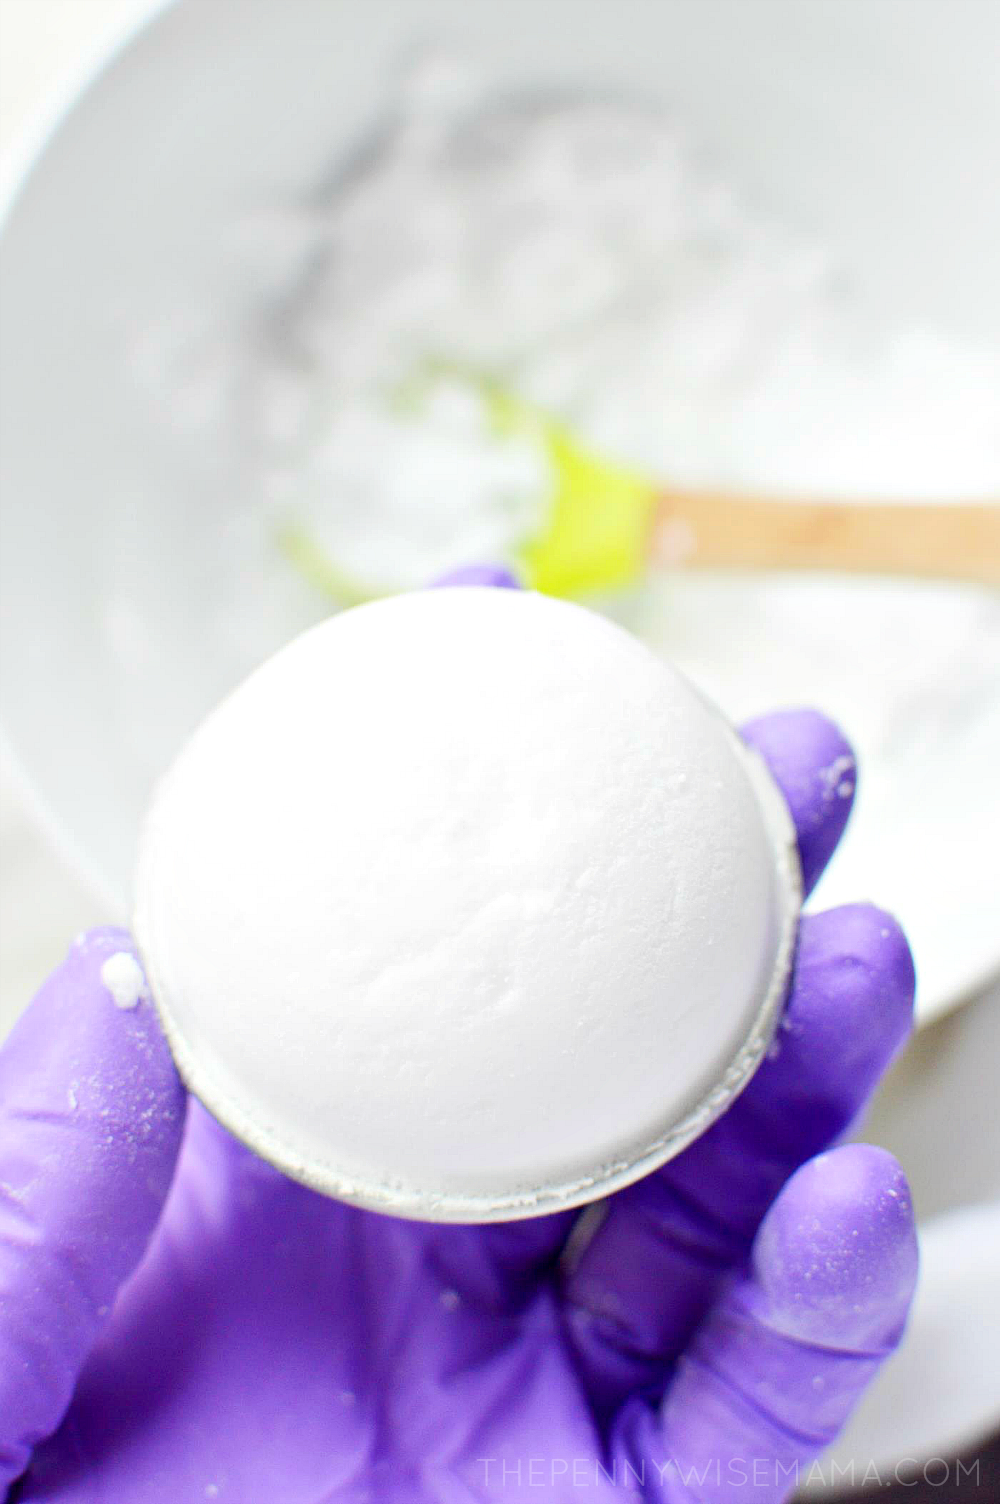
You should be able to carefully and easily remove the molds from the bath bomb. If it is sticking, you can use a wood or silicone spoon to gently tap on the molds to try to help loosen them. Sometimes they stick for no reason and you may need to simply start over.
If your mixture is starting to dry a bit, you can simply add a *tiny* bit of water to rehydrate. Too much water will cause them to constantly expand and never hold that classic bath bomb shape.
Allow the bath bombs to air dry in a sunny place until completely solid. Depending on humidity, this may be 24 to 48 hours. They’re done when they seem breakable in a glass way and sound and feel crusty.
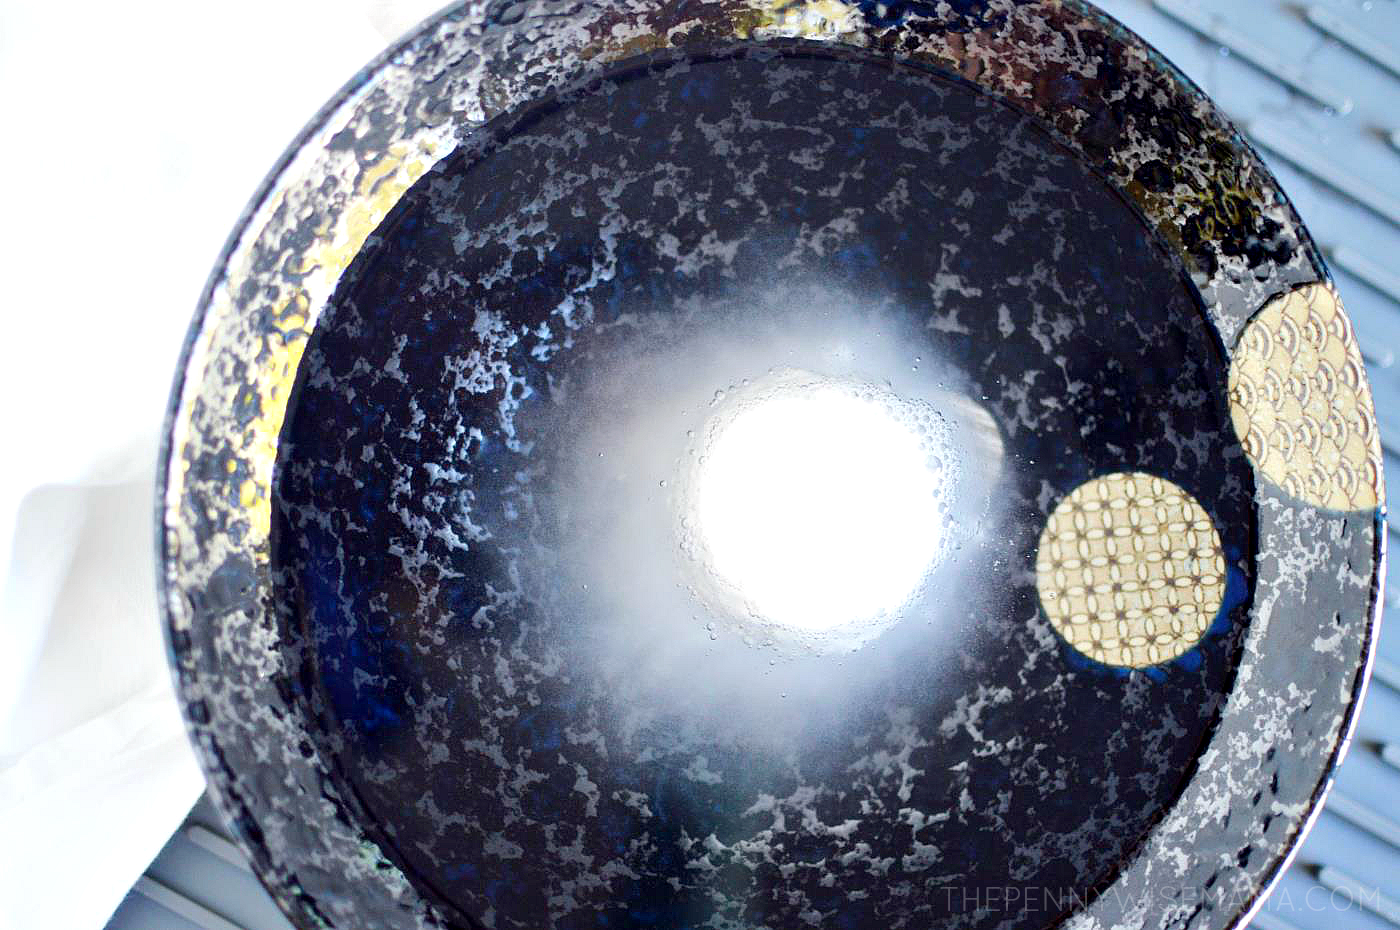
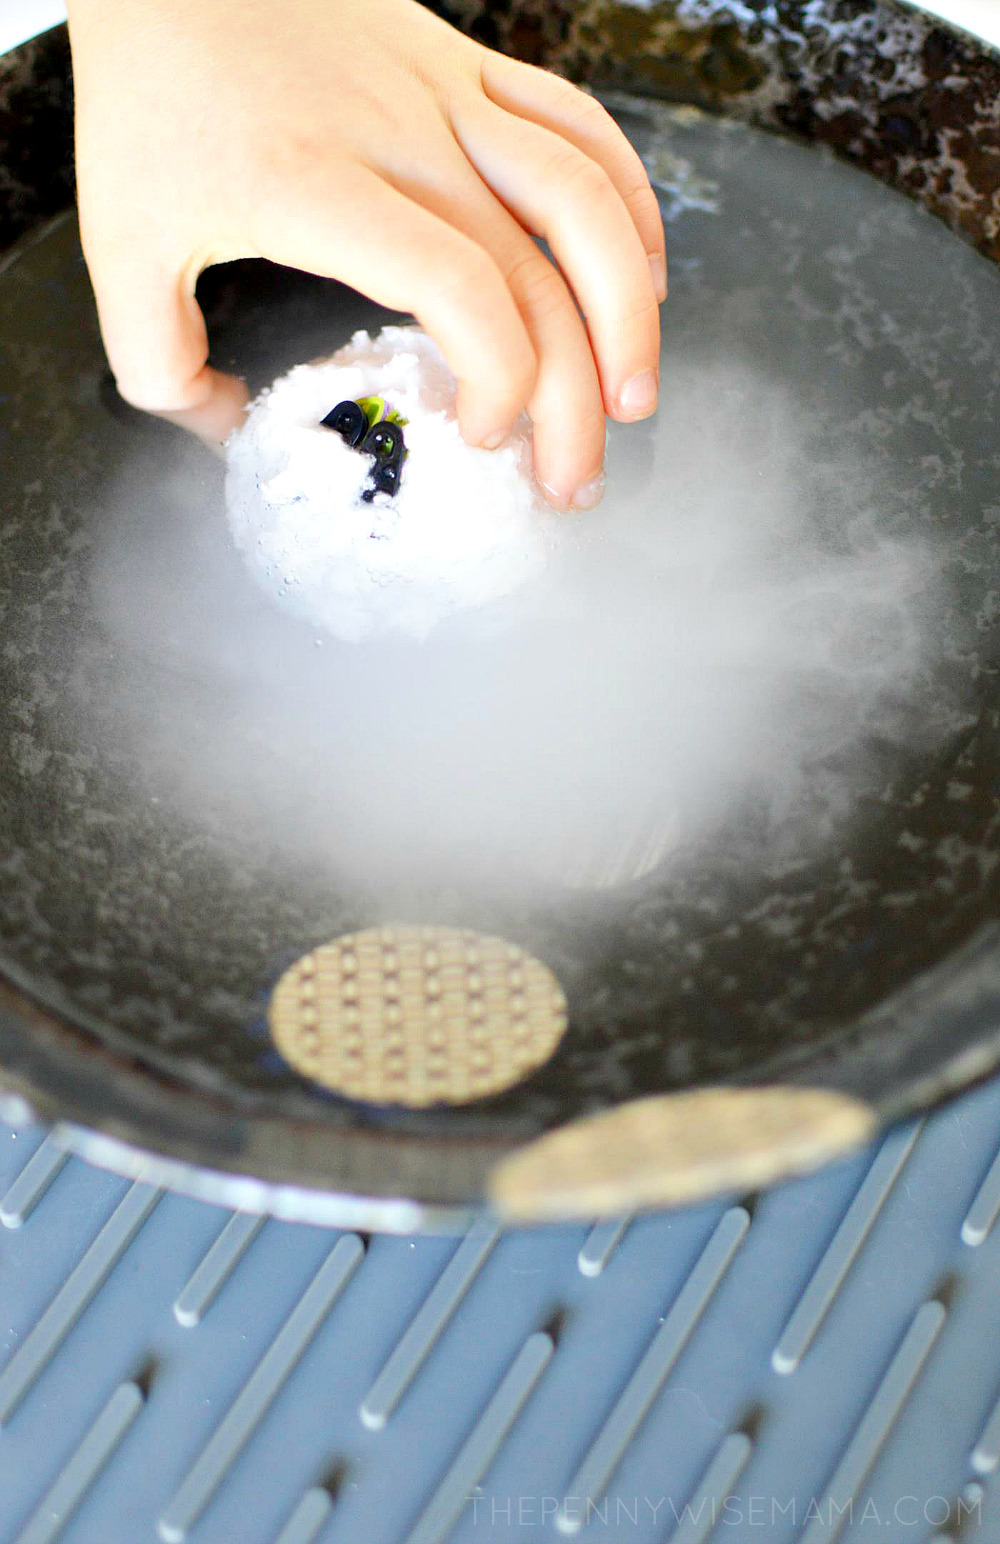
When ready to enjoy, simply let your child add it to the water and be surprised by the center!
*These are best for kiddos old enough to not put things in their mouth. Use your judgment please! 🙂

DIY Lego Bath Bombs
These DIY Bath Bombs with hidden Legos inside are fun and simple to make. Perfect for bath time, or as a sensory experience, they are sure to make any Lego fan happy when they discover the surprise inside!
Materials
- 1 cup baking soda
- ¼ cup citric acid
- up to 2 tablespoons of water
- Lego Minifigures (or any other Legos or small toys you have on hand)
- bath bomb molds – I used the largest one from this exact set and it worked perfectly!
- Optional: You can add a few drops of your favorite essential oil to the mixture. I recommend lavender, cedarwood, or Stress Away for a calming effect!
Instructions
- Have everything measured and the molds out, double check that your Lego Minifigure will fit into the center of the ball. You may need to bend their legs or adjust their arms!
- Thoroughly mix together the citric acid and baking soda. For a calming effect, you can also add a few drops of your favorite essential oil to the mixture. I recommend lavender, cedarwood, or Stress Away!
- Very slowly pour in the water and mix with your hands. You want only enough water to give the baking soda and citric acid mixture a damp, sand-like consistency that will hold together when squeezed.
- Scoop up some of the mixture into one half of the mold (do not pack down), then press your Lego Minifigure into it and place more of the mixture on top. Then fill the other half of the mold with all of the rest of the mixture and quickly press the two halves together. I find that if I use a slight twisting pressure in from both sides it helps lock the two sides together. *If your Lego (or other toy) is too large, there may not be quite enough surface space for the two sides to bond together.
- You should be able to carefully and easily remove the molds from the bath bomb. If it is sticking, you can use a wood or silicone spoon to gently tap on the molds to try to help loosen them. Sometimes they stick for no reason and you may need to simply start over.
- If your mixture is starting to dry a bit, you can simply add a *tiny* bit of water to rehydrate. Too much water will cause them to constantly expand and never hold that classic bath bomb shape.
- Allow the bath bombs to air dry in a sunny place until completely solid. Depending on humidity, this may be 24 to 48 hours. They’re done when they seem breakable in a glass way and sound and feel crusty.
- When ready to enjoy, simply let your child add it to the water and be surprised by the center!
Notes
These are best for kiddos old enough to not put things in their mouth. Use your judgement please!
Recommended Products
As an Amazon Associate and member of other affiliate programs, I earn from qualifying purchases.